Working Steps of Enstella Live Mail Calendars Recovery Software
How It Works - Live Mail Calendars Recovery Tool
Get step by step Enstella Live Mail Calendars Recovery Software Working & See how its working & Export Live Mail Calendars to CSV
Professional Live Mail Calendars Recovery Software is an easy to use & simple Live Mail Calendars conversion solution to friquently recover Live Mail Calendar. Live Mail Calendars Recovery tool supports to recover Live Mail in a simple steps as shown below:
Launch Enstella Live Mail Calendars Recovery Software (Go to Start -> Programs ->Enstella Live Mail Calendars Recovery-> Enstella Live Mail Calendars Recovery).
Startup Screen of Enstella Live Mail Calendars Recovery
Click on Add File button
After clicking on this button, following window will appears on your screen.
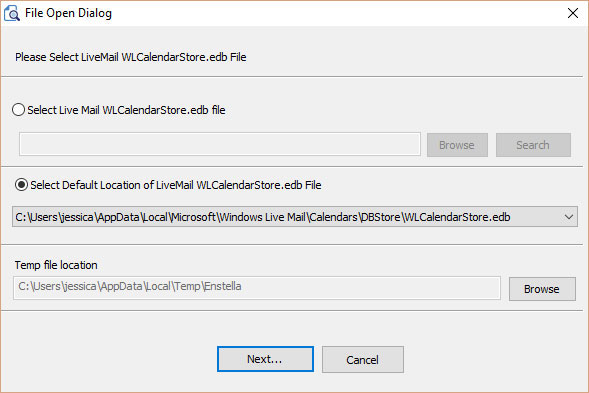
If user have no idea that where is their Live Mail calendar .edb file located so our Click on search option to that helps to user for searching Live Mail Calendars .edb file in hard disk.
Select and open Live Mail Calendars .edb file which user want to recover and convert into multiple formats
Click on Next button.
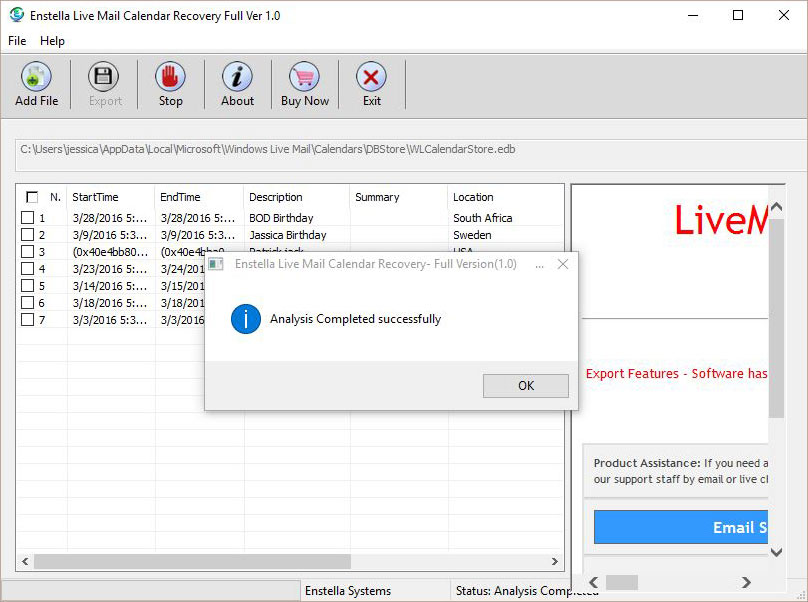
After Completed Analysis process, Click on ok button
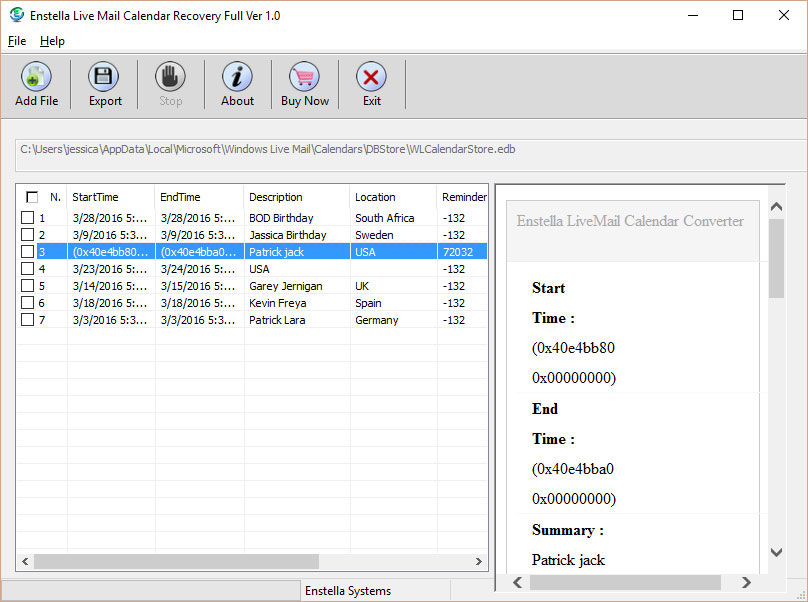
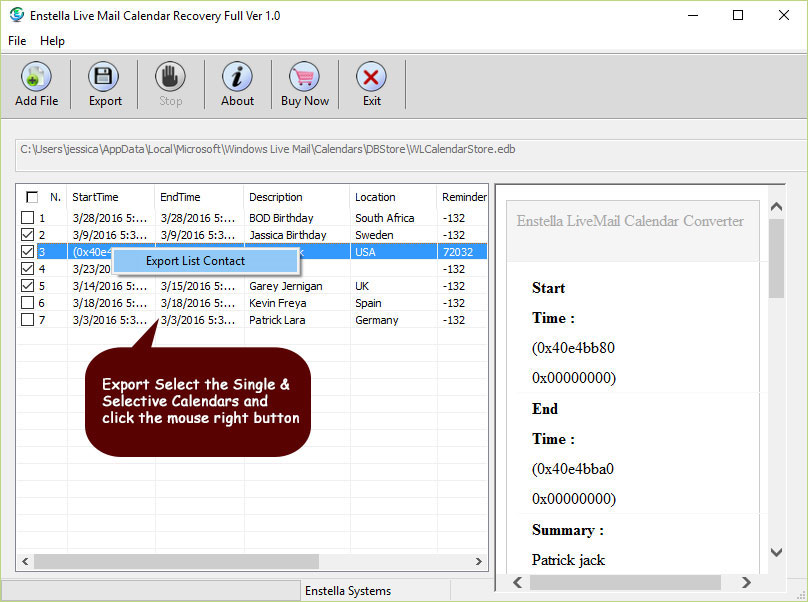
Have preview of recovered calendar, and click on Export button to save Live mail Calendar .edb file
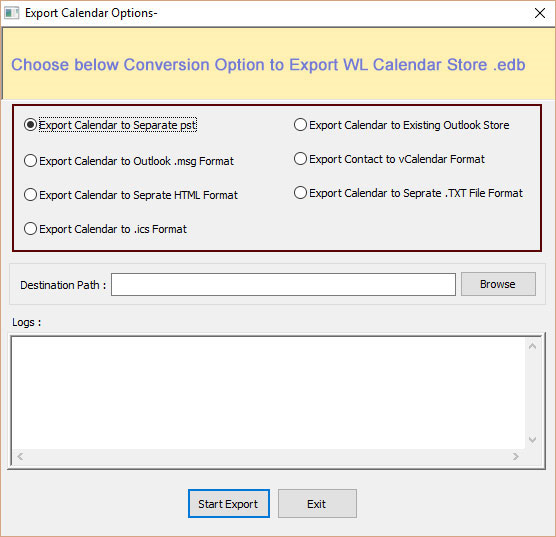
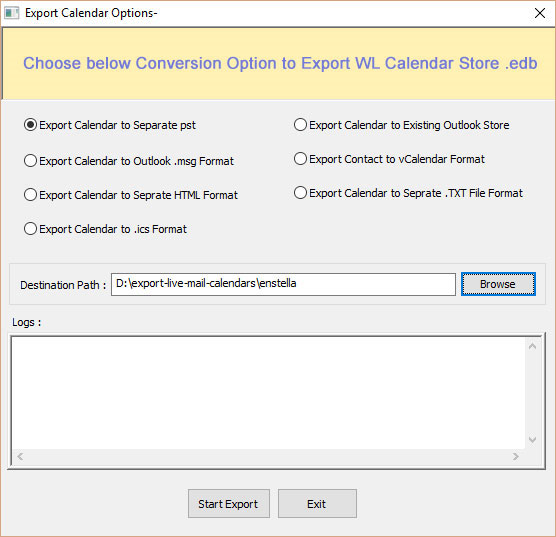
Select the given Export option to save live Calendars.edb
Click on the Browse button and select the saving location path
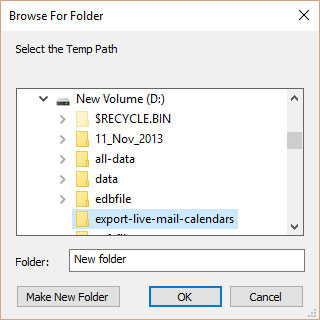
Select the Saving location path and click on the OK button
After selecting saving location path, click on the Start Export button
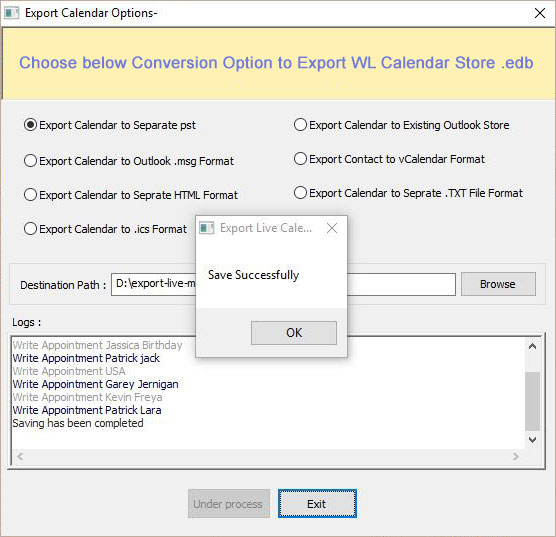
After Completed saving processing click on OK button
Startup Screen of Enstella Live Mail Calendar Converter

Click on Add File button
After clicking on this button, following window will appears on your screen.
Select the Default Location of Live Mail Calendars.edb file, And cilck on the Next button
And Click on Next button, following window will appears on your screen.
After Completed Analysis process, Click on ok button
Have preview of recovered calendar, Click Right side and get Export Calendars into multiple formats option:
Export Calendars to PST, Existing Outlook Store,MSG,vCard, HTML,CSV and TXT
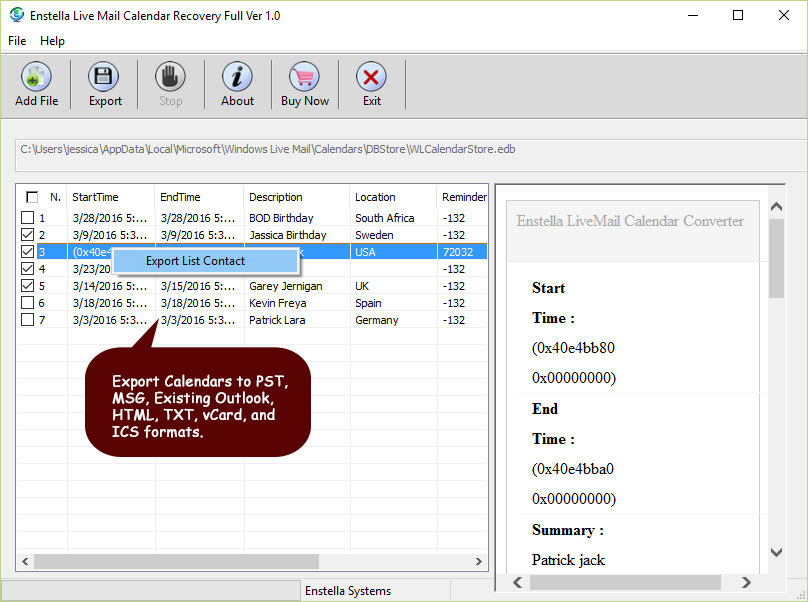
Recovered items will get enlisted in the Left Pane, select any contact to view the contents in Right Pane.
Select the contacts from the Left Pane and click the Export File button to proceed with saving the recovered items.

Now "Select Single Saving Option Type" dialog appears on your computer screen:
Click on the Browse button and select the saving location path
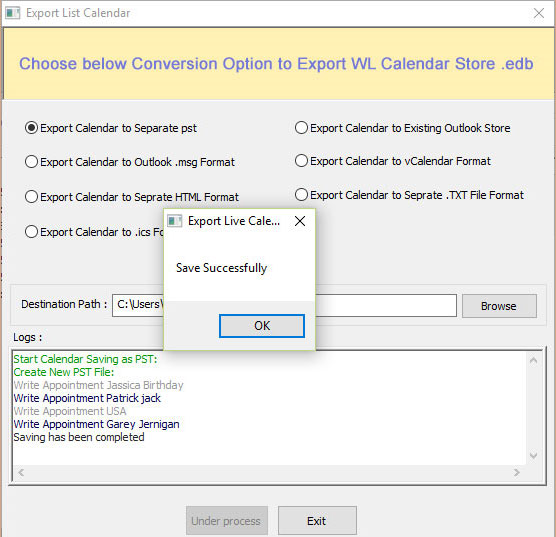
After Completed saving processing click on OK button